¶ Introduction A/R Invoice
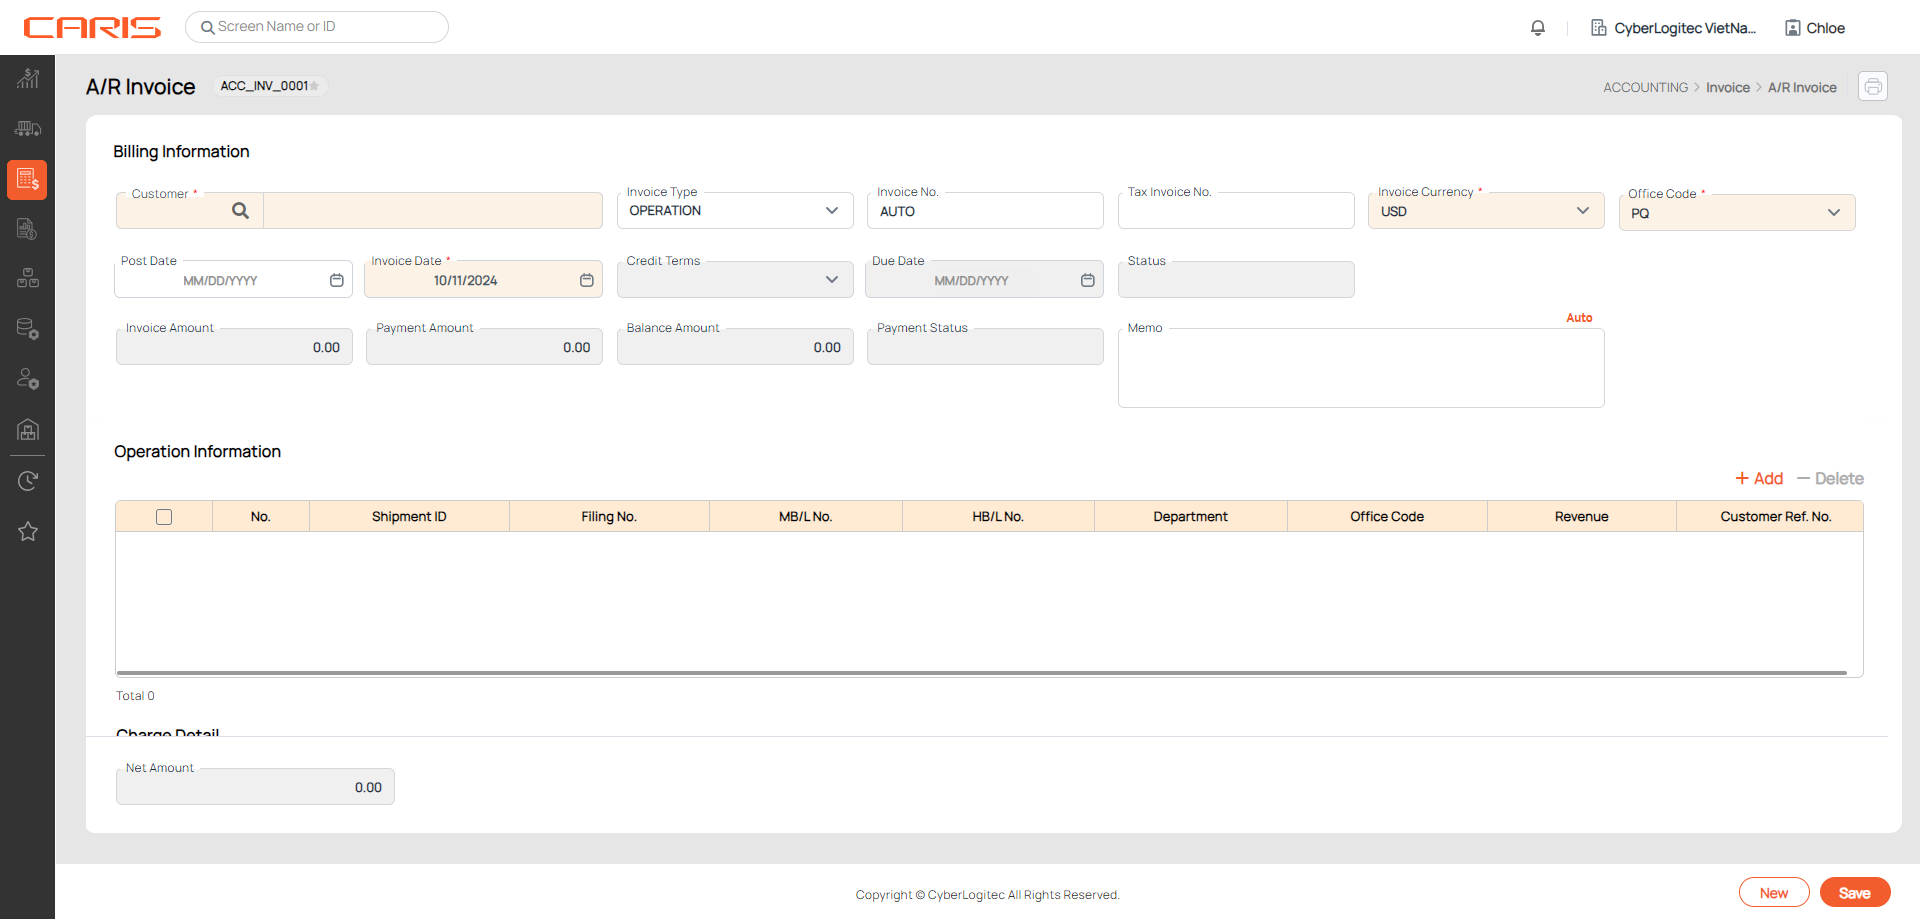
The A/R Invoice screen allows you to create invoices for operations and general administration. You can link shipment and charge details from shipment ID, Filing No., Master B/L No., or House B/L No, or issue a new invoice from scratch.
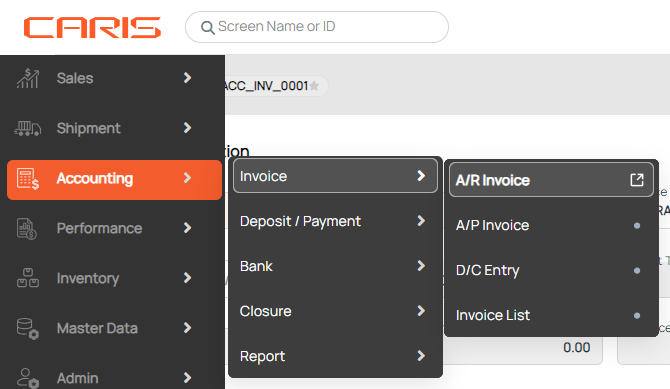
Navigation: Accounting / Invoice / A/R Invoice
¶ Create Operation invoice
- In Billing Information, enter these mandatory fields:
- Customer: click on the search icon to select a customer
- Invoice type: OPERATION (default)
- Invoice currency: local currency is default
- Office code: open the dropdown to select, user’s office is default
2. In Operation Information, Click the +Add button and select the type of number (Shipment ID / Filing No. / WH Filing No. / Master B/L No. / House B/L No.) to fill in the table.

- If you select shipment ID or House B/L No., the charge details will be retrieved from the Freight tab in Shipment Detail.
- If you select Filing No. or Master B/L No., the charge details will be updated by the Freight tab in Master B/L Detail.
- If you select WH Filing No., the invoice will be created for Inventory / WH Document Entry
3. Following information is returned based on your inputs:
- Post date: If the invoice contains multiple shipments, invoice post date will be based on the first shipment added to the invoice.
- This setup is decided in the Office screen. You can also make changes to this date.
- Due date is calculated based on invoice date and credit terms.
- Customer ref. No and Memo are retrieved from Master B/L or shipment details.
4. In Charge Detail section:
- Exchange rate is updated automatically from invoice exchange rate based on invoice date.
- Click +Add button in charge details to add more charges.


- Button +Update Invoice is to add charges from Master B/L or Shipment Details for unposted invoice. Any changes made will also update in Master B/L or Shipment Details (Freight tab).
Use Proforma Invoice Process (Setup by Cyberlogitec Admin)
- Invoice status will be changed to Unposted after save. You can print or email a Proforma invoice and send to your customers for confirmation.

- Once you have received confirmation from customer, click Post to issue an official invoice. The invoice number will be generated as set up in Offices. You can update the tax invoice no. as well. Please note that all information can not be changed after posting an invoice.

- Click Reverse to cancel Posted Invoice without paid amount
¶ Create General Admin invoice
- In Billing Information, enter these mandatory fields:
- Customer: click on the search icon to select a customer
- Invoice type: select General Admin
- Invoice date: current date is default.
- Due date will be calculated base on invoice date and credit terms.
- In Charge Detail:
- Click +Add button to add new row
- Select Charge code
- Input Rate & Volume
- Exchange rate will be updated automatically based on invoice date.
If the exchange rate is missing in the invoice, it will show as 0. Once you save the invoice, the system will ask you to add an exchange rate. You can click on the Add Exchange Rate button, then return to the invoice and either cancel or close the popup. The updated exchange rate will be applied to the invoice.
3. Click Save to save the invoice. The status will be changed to unposted. You can still revise the information in this status
- Click Post button to issue invoice. If the post date is blank, default post date is today.
- Invoice no. will be generated automatically. The status will be changed to posted.
¶ Delete invoice
Click on the Delete button to cancel a Unposted invoice and confirm the deletion.
¶ Reverse invoice
After posting, an official invoice is issued and it can not be changed or deleted. Reverse button is used for canceling this invoice without paid amount and the transaction will be recorded in the accounting report.
¶ Non-Use Proforma Invoice Process
(Setup by Cyberlogitec Admin)
- No apply for invoice status, created invoice can be used to issue to customer,
- Invoice information can be revised or deleted
- Click Delete to delete invoice without paid amount in the system
¶ Deposit invoice
- After issuing an invoice, you can make a deposit by clicking on the Deposit button. All information in deposit will be filled automatically.
- Enter the received amount and click Save to create a deposit.
¶ Check Profit report
Click on the Profit Report button to check profit for all Master B/L in operation invoices.
