¶ Introduction
The Payment Entry screen allows you to create, clear and void transactions for payable invoices.
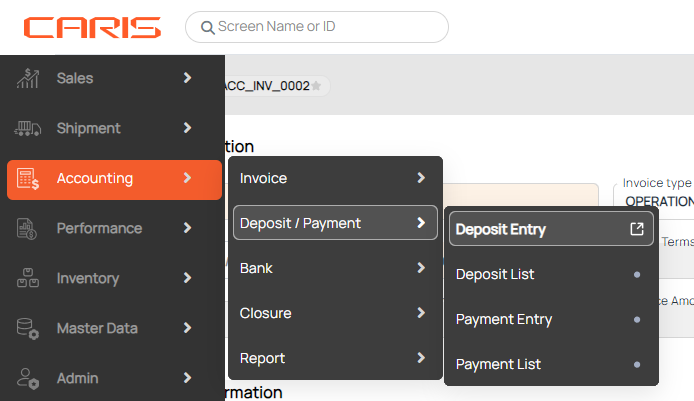
Navigation: Accounting > Deposit/Payment > Payment Entry
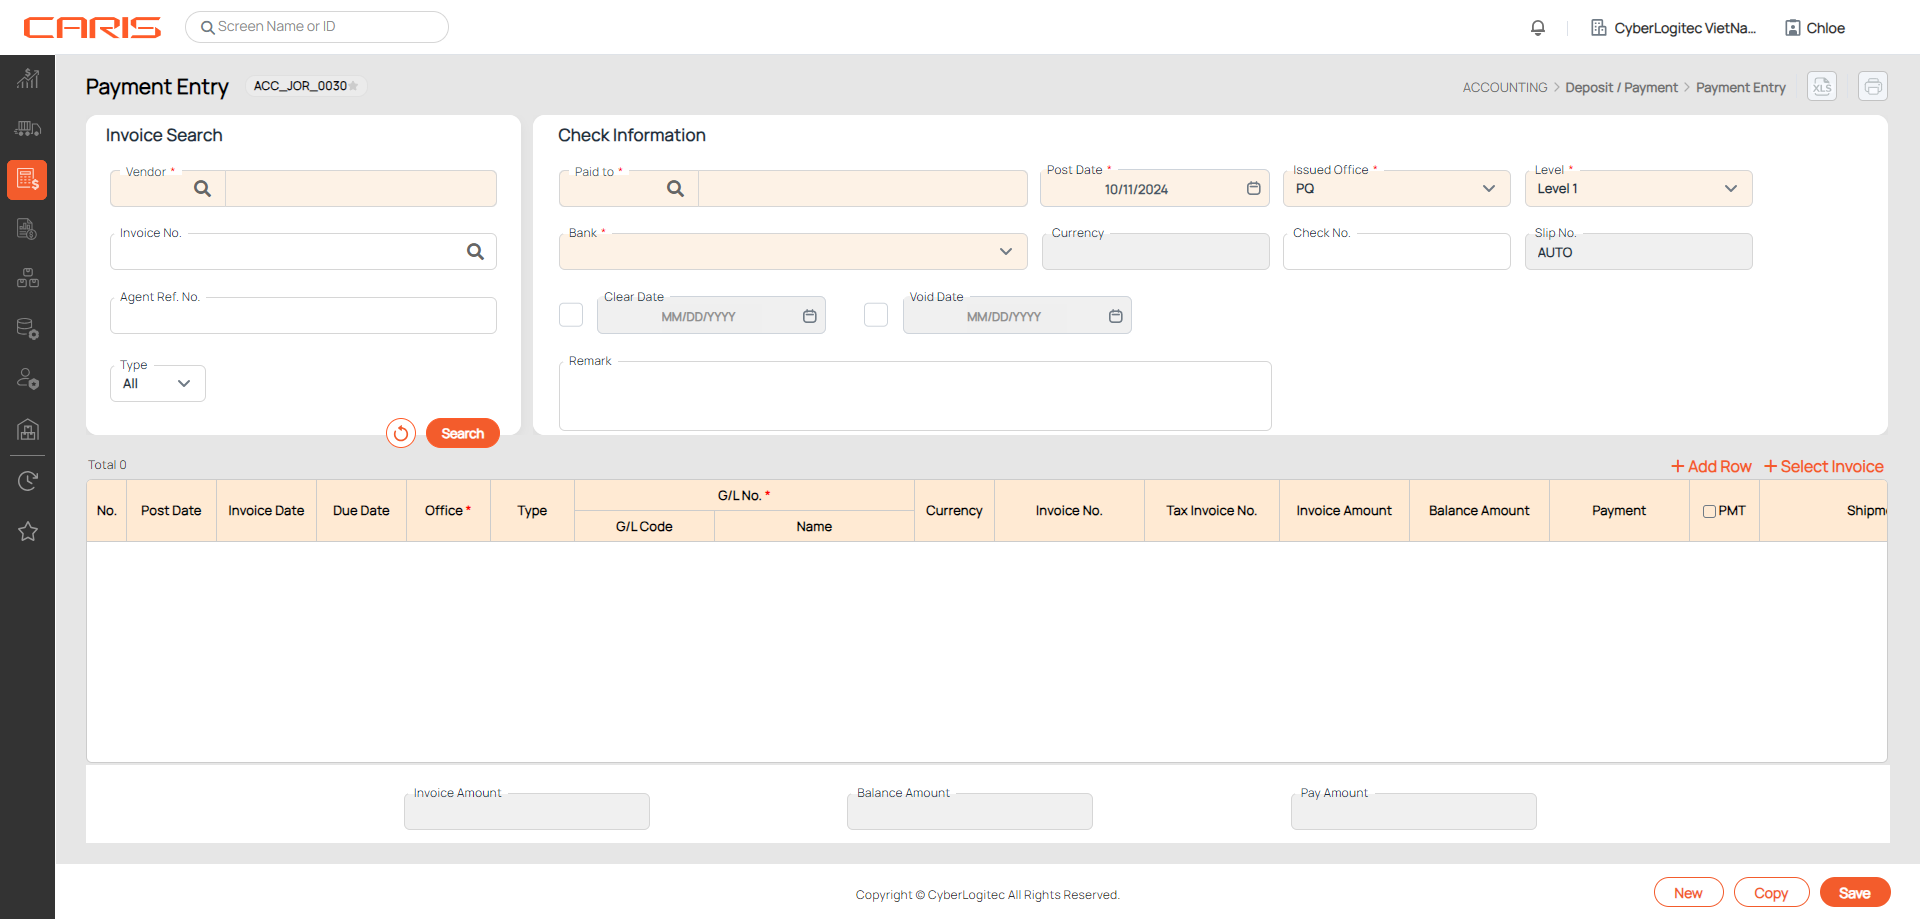
¶ Create payment by searching invoices
- In Invoice Search section:
- Vendor: click on the search icon to select vendor
- Invoice No.: click on the search icon to select an existing invoice no.
- Invoice type: open the dropdown to select type. The OPEN option means outstanding invoices that have not been settled by vendor.
- Click search to see the invoices.

2. In Check Information:
- Post date: click on this field to select. The default setting is current date.
- Bank: click on this field to select.
- Currency: dependent on the bank you selected.
- Level: open the dropdown to select. You can see deposit level per setups from the Role management screen.
- Remark & Description: enter if needed.
3. In the invoice table, check PMT column to settle all balance amount. You can also input manually at Payment.

4. You can settle Receivable & Payable Invoice in Payment Entry, but the Pay amount must be equal or greater than 0.
5. Click Save to create payment. Slip No. is generated. Check No. can be blank.
¶ Create payment by adding G/L code
- In Invoice Search & Check Information:
- Vendor: click on the search icon to select vendor
- Bank: click on this field to select.
- Currency: dependent on the bank you selected.
- Post date: click on this field to select. The default setting is current date.
- Level: open the dropdown to select. You can see deposit level per setups from the Role management screen.
- In invoice table:
- Click +Add Row button
- Select G/L code
- Enter payment amount in Payment column.
- Click Save to create Payment.
- Payment information can be revised in this status
¶ Clear payment
- In Check Information:
- Check No. is required
- Click on the Clear checkbox
- Enter Clear date. The default setting is the same as Post date.
- Click Save to finish. Once you have cleared a payment, you cannot edit or delete data.
- You can also undo the clearance in the Bank Batch Processing screen, depending on your role. Refer Role Management.
¶ Void payment
- In Check Information:
- Click on the Void checkbox
- Enter Void date. The default setting is the same as Post date. Void date must be equal or greater than Post date.
Note. You cannot void a cleared payment.