¶ Introduction
This screen allows you to manage user & account information (username, role, password, IP address, etc.)
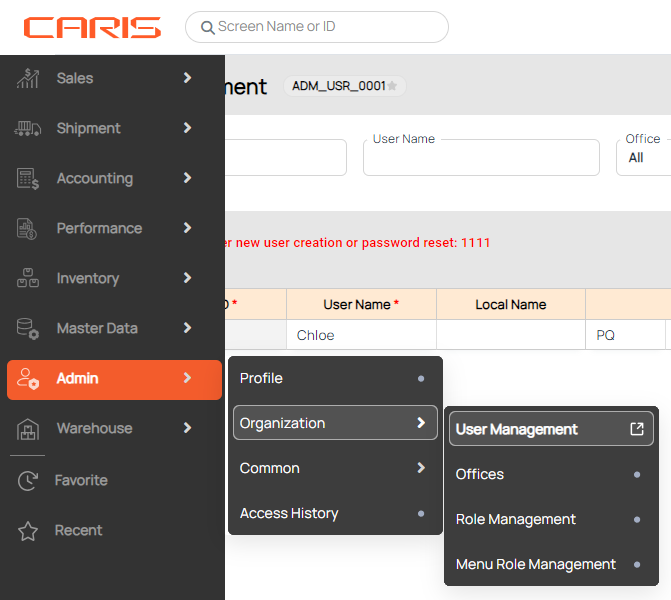
Navigation: Admin > Organization > User Management.
¶ Manage user information
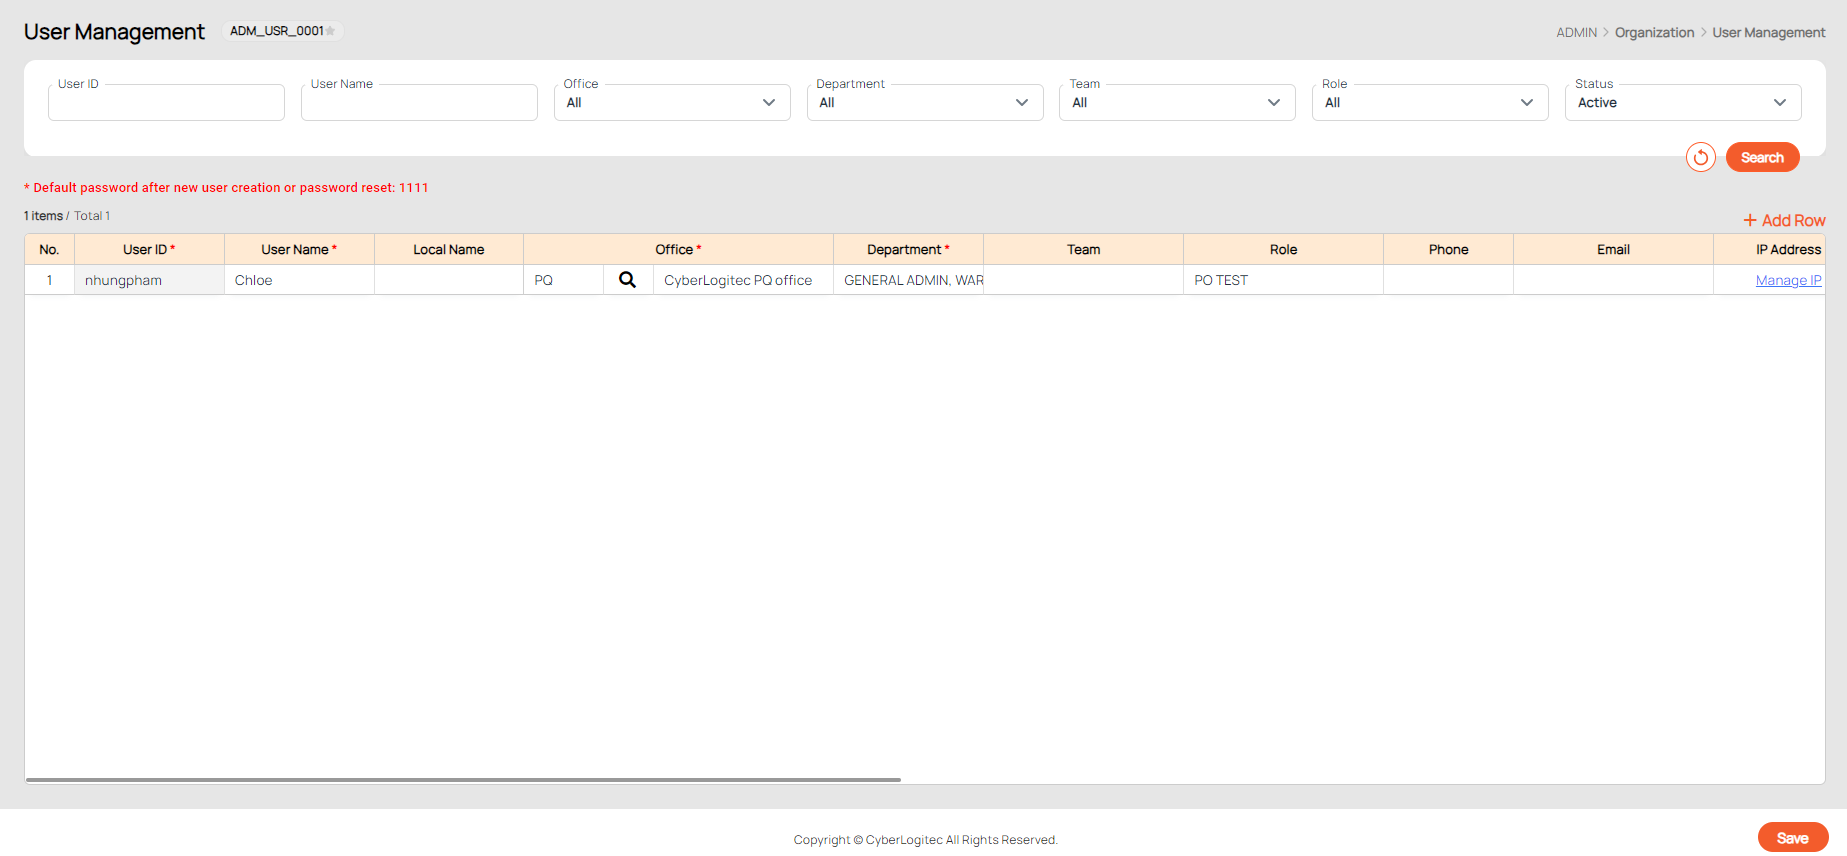
Following information can be managed:
- No: The number order. You can hover over this column to see a Trash icon for deletion.
- User ID (*): User ID (must contain at least 3 characters).
- User Name (*): English name of the user (must contain at least 3 characters).
- Local Name (*): Name of the User (must contain at least 3 characters).
- Phone: User Phone Number.
- Email: User E-mail address.
- Address: User's address.
- SNS Name: User’s social media name.
- SNS ID: User’s social media ID/Link.
- Birthday: User's birthday.
- Fax: User’s fax number.
- Sex: User’s gender.
- Status: The status of account (Active: user can use the account to login to system; Inactive: user can NOT use the account to login).
¶ Create new user

- Click Add Row.
- Enter mandatory fields.
- Click Save.
Note.
- Although you create a new user with “User ID” is “newuser” but when you log in you can entry the “User ID” is “NEWUSER”/”NewUser”
- Default password for new users is 1111.
- If a new user has no role, they cannot see anything when they log in to the system.
¶ Assign office, department, team, role
¶ I. Assign Department, Team and Role

Any user can be in multiple Departments, Teams, and Roles.
- Department: determines department of the user
- Team: Team of the User
- Role: User System Rights.
- Double-click on the cell to drop down the combo box.
- Select the option in the combo box.
- Click Save.
¶ II. Assign Office
Each user can be assigned to one office only. The Office master data is managed via Office screen.

- Click on the magnifying glass icon to open the Office List pop-up.
- To select an office, click on the row in the popup and click Select.
- Click Save.
¶ Reset password
This feature helps users who forget their password by resetting it to the default "1111".

- At User Management table, scroll right to the end of the table.
- Click Reset for the user that needs a reset. A confirm pop-up will appear.
- Click OK.
Note. After a password reset, the user must change their password at the next login.
¶ Manage IP address
Administrators can define IP addresses allowed by user.

- At User Management, scroll right to the end of the table.
- Click on Manage IP in a specific row.
- If you can't remember whose IP you're editing, check the User ID at the end of the popup title (green box).
- Click Add Row to add a new row in the list.
- Input IP Address following below format:
| IP Address | Meaning | Usage |
|---|---|---|
|
116.120.135.251
|
One Designated IP Address is accessible to the system
|
Static IP Address with one PC.
|
|
116.120.135.*
|
255 IP Addresses (From 116.120.135.1 to 116.120.135.255) are accessible to the system
|
Dynamic IP Address in a Router (Office-wise)
|
|
116.120.*
|
255 x 255 IP Addresses (From 116.120.1.1 to 116.120.255.255) are accessible to the system
|
Dynamic IP Address in a Network Provider
|
|
116.*
|
255 x 255 x 255 IP Addresses (From 116.1.1.1 to 116.255.255.255) are accessible to the system
|
|
|
*
|
No restriction on system access
|
Default Setting
|
5. Enter a timeframe for this IP's validity:
- Pick the starting date (From) and ending date (To) for this IP Address.
6. Click Save.
Note.
- Users without an IP Address cannot access the system. This also means that this user is blocked.
- Once an user is created, a new row is automatically added to the IP Address List.