¶ Introduction
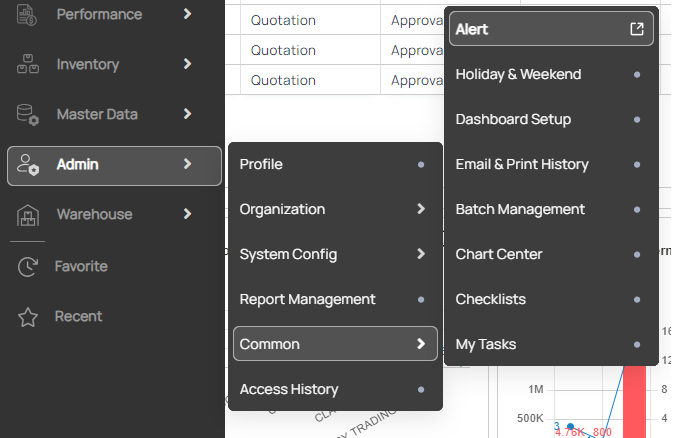
This screen allows you to set up alerts based on event, schedule, recipient and sending method. The alerts can be sent either to your My tasks table or email address.
_(1).png?table=block&id=1bbd0bb3-3965-4437-a965-332358944d3c&spaceId=c66c39e8-0ffc-4c74-8f21-de28139a5b4d&width=1500&userId=&cache=v2)
Navigation: Admin > Common > Alert
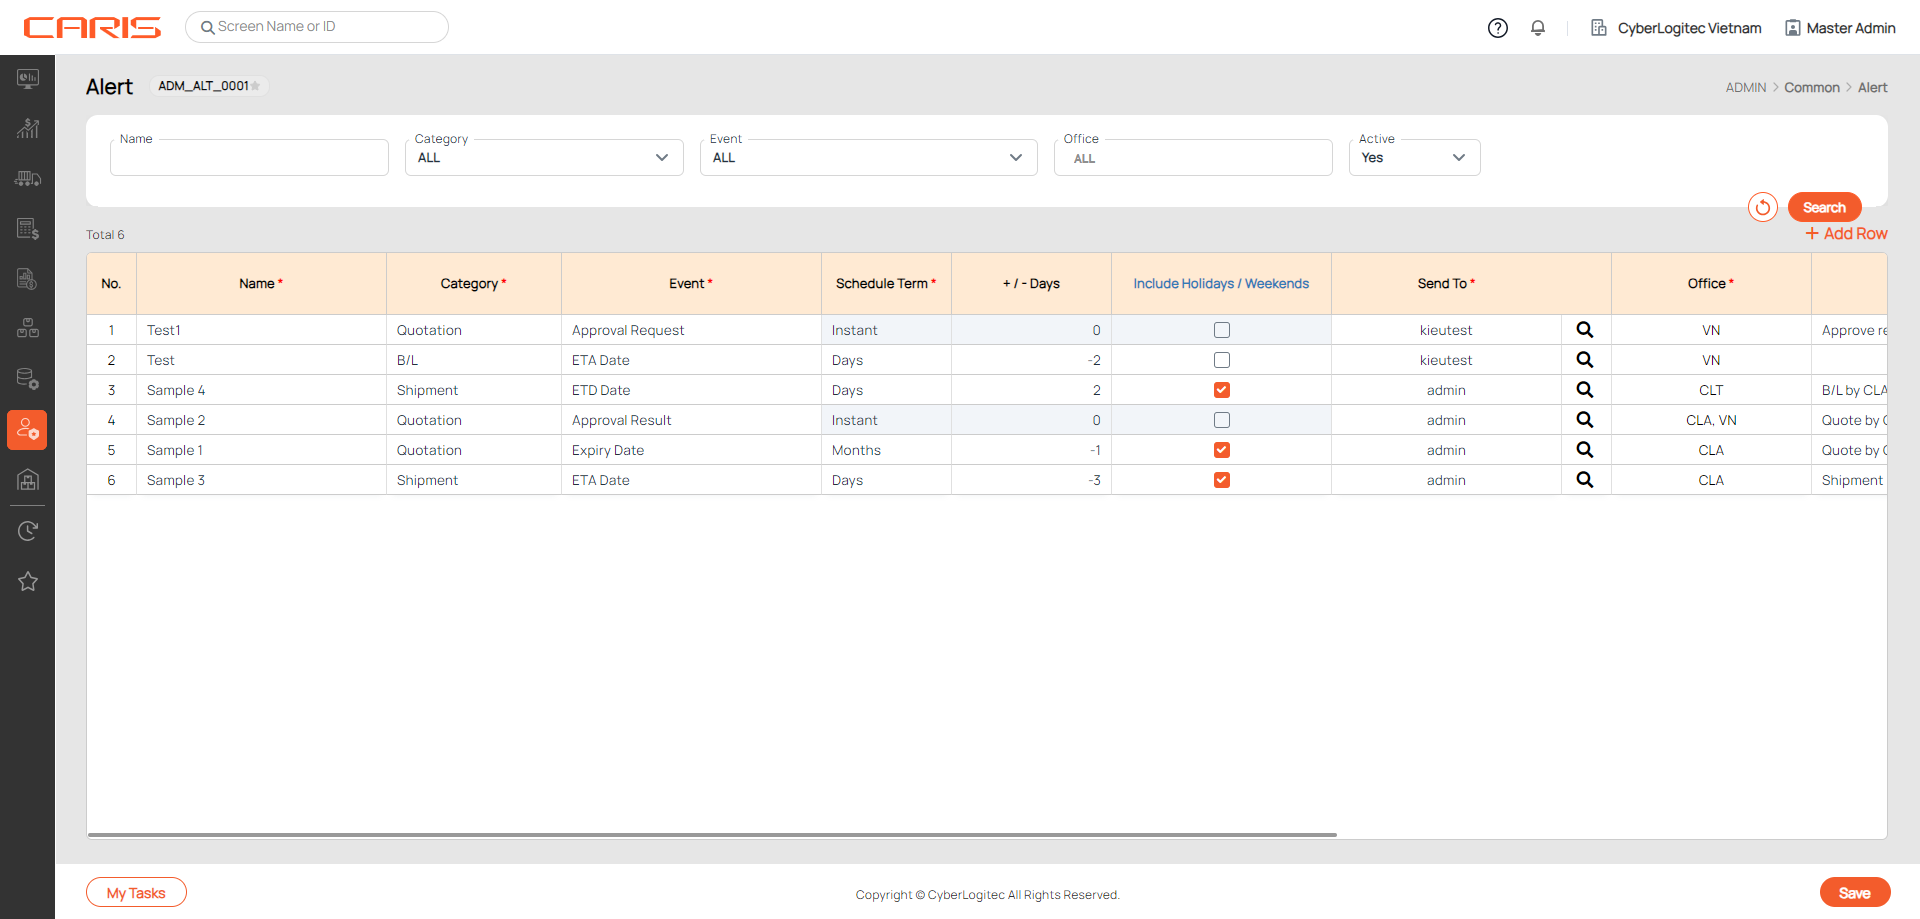
¶ Create alert
- Click Add Row.
- Give inputs to the blank row. Fields with an asterisk are mandatory and must be filled in order to be saved.
- Name: provide name of the alert.
- Category: select among types of documents, or work processes that could benefit from an alert.

- Event: select among list of events that could trigger an alert. This list is decided by the Category user has chosen.

Refer below table for more details on Category and Event.
| Category | Event | Explained |
|---|---|---|
| Quotation |
Expiry Date
|
The alert will send based on the expiry date of a Quotation.
|
| Quotation | Approval Request | The alert will send once a Quotation needs approval, its status is either Draft or Review. |
| Quotation | Approval Result | The alert will send once the status of a Quotation has been changed to Approved or Cancelled. |
| Contract | Expiry Date | The alert will send based on the expiry date of a Contract. |
| Contract | Approval Request | The alert will send once a Contract needs approval, its status is either Draft or Review. |
| Contract | Approval Result | The alert will send once the status of a Contract has been changed to Approved or Cancelled. |
| Invoice | Overdue Date | The alert will send based on the overdue date of an Invoice. |
| B/L | ETD DATE | The alert will send based on the ETD date of a B/L. |
| B/L | ETA DATE | The alert will send based on the ETA date of a B/L. |
| Shipment | ETD DATE | The alert will send based on the ETD date of a Shipment. |
| Shipment | ETA DATE | The alert will send based on the ETA date of a Shipment. |
- Schedule term: Setup of when to trigger the alert

- Instant: to send immediately once triggered. This term is applied to Approval Request and Approval Result events
- Days: to send once before or after x days of the event (to clarify in No. of days/months). The alert should be sent on a daily basis.
- +/- Days/Months: Establish when to send the alert
- (+): after x days/months of the event
- (-): before x days/months of the event


- Include holidays/ weekends: If this box is left unchecked, the alert will skip counting holidays and weekends to its sending schedule. The holidays and weekends can be defined by individual countries and offices in the
Holiday & Weekendscreen. - Send to: Click on the search icon to open the applet.

You can query recipients by their ID, Office, Department, Team, or Role.

In the User List table on the left, select users by clicking or checking the row. You can also deselect a row from the Selected User List table.
- Office: Open the dropdown to select Office. You can select multiple offices, or select to send the same data from recipient’s offices.

- Message: Enter the message you want to send to recipients. This will display in My tasks table (if Sending method is My tasks), and as email title (if Sending method is Email).
- Sending method
- My tasks: If this box is checked, the alert will be sent to recipient's My tasks table
- Email: If this box is checked, the alert will be sent in an Excel file to recipient's email address.

- Email address: You can provide additional email addresses to receive the alert, in case it cannot be defined in the Send to field.
- Active: Indicate the current status of the alert, distinguishing between active and inactive alerts for effective management and tracking.
¶ Receive alert
- Let’s assume an alert has been created per below setup

(means send an alert for Quotes created by office VNN that will reach their expiry dates in 2 days).
- The recipient will receive the alert in both My tasks and Email.
